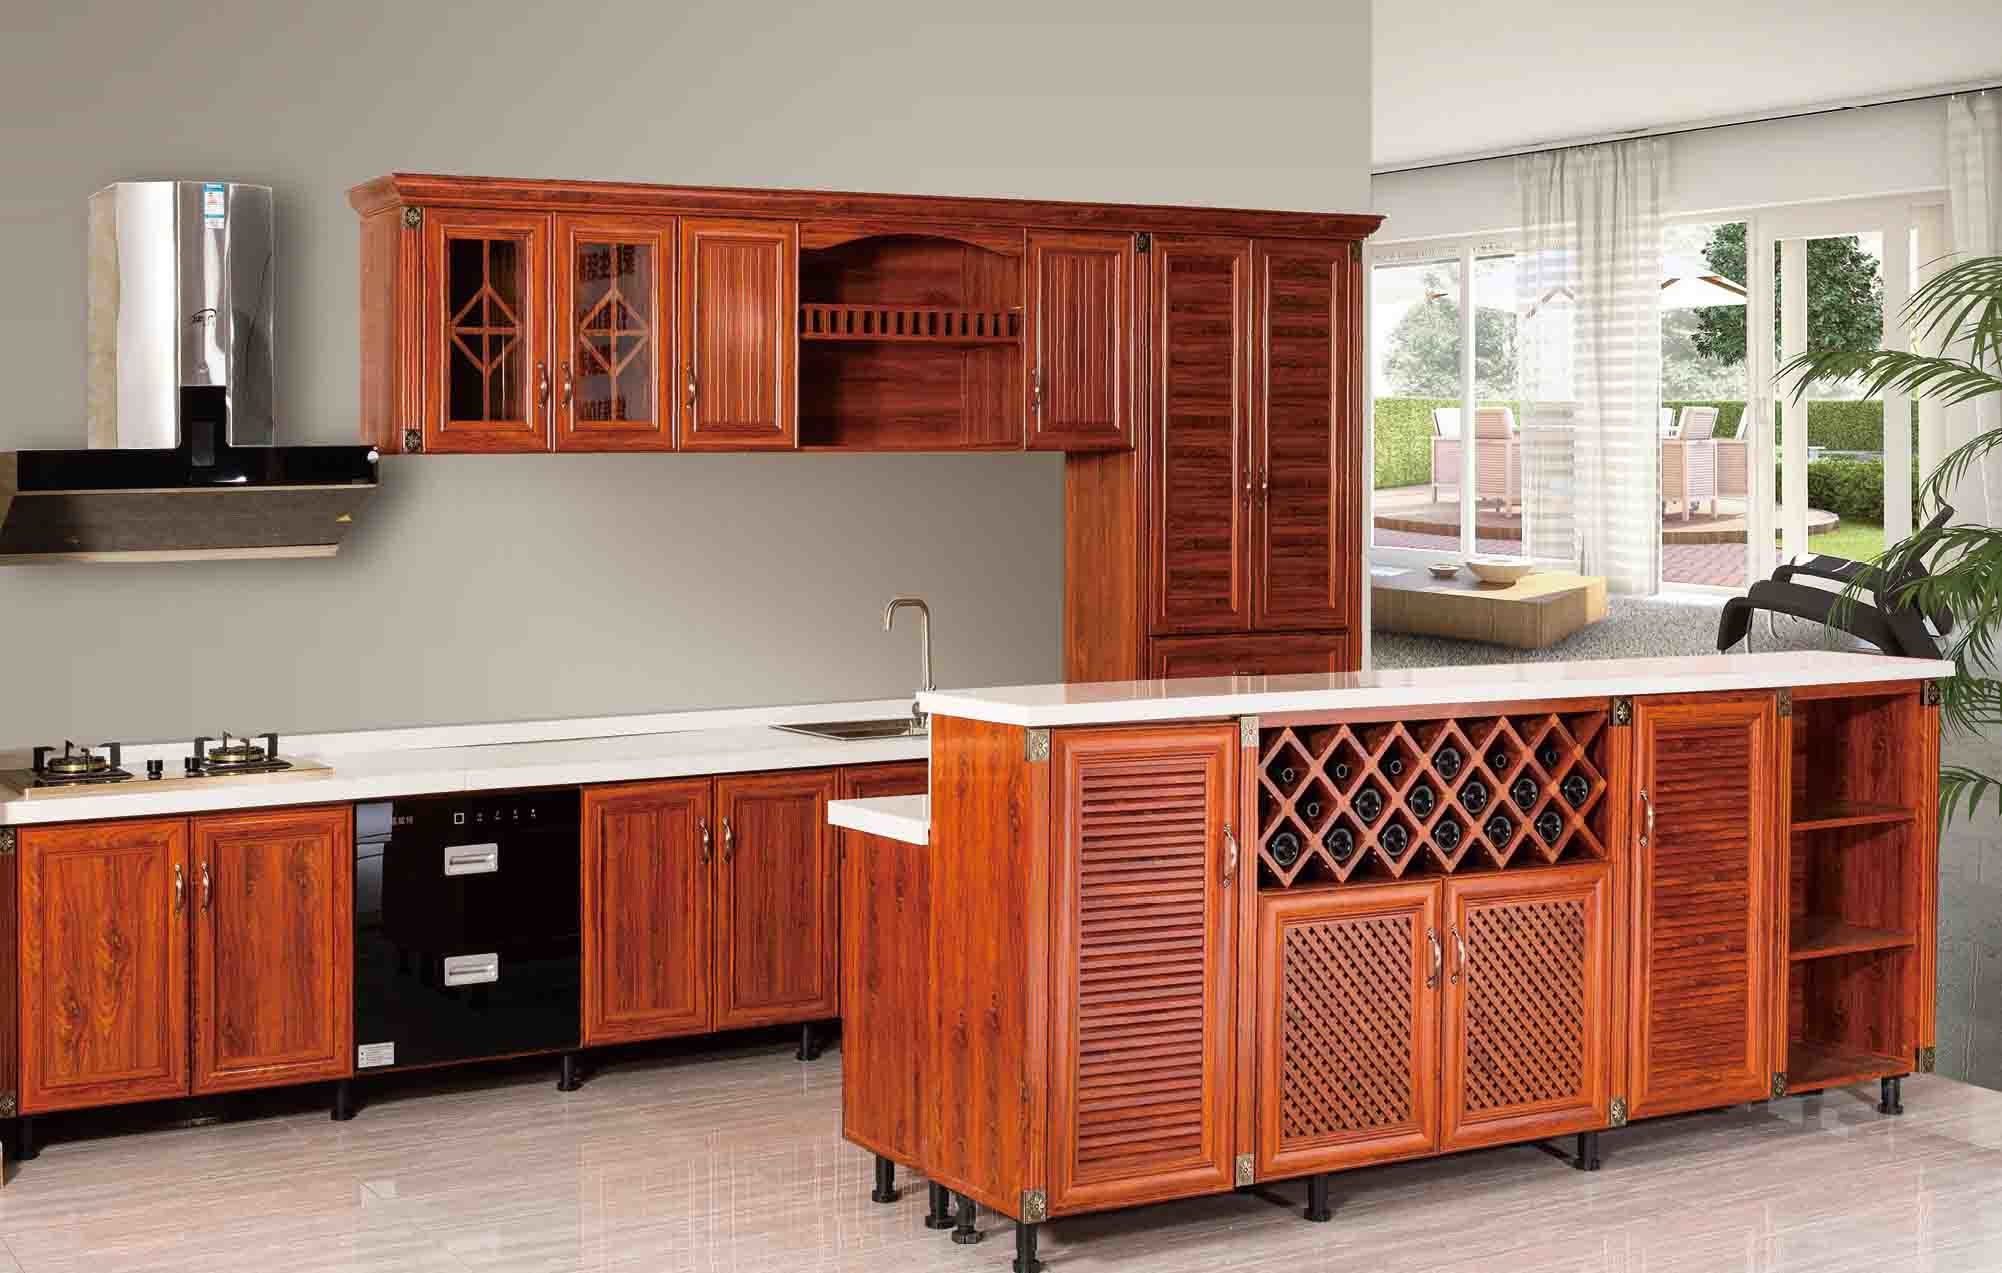
Construction Techniques & Tools

Building aluminum kitchen cabinets requires precision and the right tools. This section details the processes involved in cutting, shaping, assembling, and finishing aluminum profiles for a durable and aesthetically pleasing result. Careful planning and execution are key to achieving professional-looking cabinets.
Cutting and Shaping Aluminum Profiles
Cutting aluminum profiles accurately is crucial for precise cabinet construction. A miter saw with a fine-tooth blade designed for aluminum is ideal for achieving clean, square cuts. For curved cuts, a jigsaw with a metal-cutting blade is necessary. Always use appropriate safety gear, including eye protection and hearing protection. To ensure accurate measurements, use a metal measuring tape and marking tools like a scribe or a fine-tipped permanent marker. After cutting, deburr the edges of the aluminum profiles using a file or sandpaper to remove any sharp edges and ensure a smooth finish. Shaping can involve bending the profiles to create angles or curves. This can be achieved using a bending brake or a specialized aluminum bending tool. For more complex shapes, consider using a sheet metal brake.
Aluminum Profile Joining Methods
Choosing the right joining method depends on the project’s complexity, desired strength, and aesthetic preferences. The table below compares three common methods:
| Method | Advantages | Disadvantages | Tools Required |
|---|---|---|---|
| Welding | Strongest joint, creates a seamless appearance. | Requires specialized equipment and skill, potential for warping if not done properly. | TIG welder, filler rod, safety equipment (mask, gloves). |
| Riveting | Relatively strong, easy to learn, allows for disassembly. | Visible rivets may not be aesthetically pleasing to all. | Riveting gun, rivets, drill, drill bits. |
| Bolting | Easy to assemble and disassemble, allows for adjustments. | Requires precise drilling, visible bolt heads may not be desirable. | Drill, drill bits, bolts, nuts, washers. |
Installing Hardware
Installing hinges, handles, and other hardware requires precision and the correct tools. For hinges, pre-drill pilot holes to prevent the aluminum from cracking. Use self-tapping screws designed for aluminum or appropriate machine screws and nuts. Ensure that the hinges are aligned correctly to ensure proper door closure. For handles, use screws appropriate for the aluminum thickness and the handle’s mounting style. Consider using countersinking bits to recess the screw heads for a cleaner look. Always refer to the manufacturer’s instructions for specific hardware installation.
Creating Custom-Sized Cabinet Doors and Drawers
Custom-sized aluminum cabinet doors and drawers provide flexibility in design. Accurate measurements are paramount. Use a metal measuring tape to determine the precise dimensions. Cut the aluminum to size using a miter saw or jigsaw, ensuring clean, square cuts. For edges that will be visible, consider using an aluminum edge banding or a finishing technique like powder coating to protect the edges and improve the aesthetics. For drawers, construct a frame from aluminum profiles using chosen joining methods and add a bottom panel made of aluminum sheet or another suitable material. The same techniques used for cabinet construction apply to building doors and drawers. Remember to always use appropriate safety gear.
Finishing & Maintenance: Diy Aluminium Kitchen Cabinet

Proper finishing and maintenance are crucial for ensuring the longevity and aesthetic appeal of your DIY aluminum kitchen cabinets. Aluminum’s inherent durability can be further enhanced with the right finishing techniques, protecting it from corrosion and scratches while providing a desired visual effect. Choosing the appropriate finish depends on your budget and desired aesthetic.
Aluminum Surface Preparation
Before applying any finish, thorough cleaning and preparation of the aluminum surfaces are essential for optimal adhesion and a professional-looking result. This involves removing any grease, dirt, or other contaminants that could interfere with the finish.
- Necessary Supplies: Degreaser, fine-grit sandpaper (e.g., 320-grit), tack cloth, safety glasses, gloves, appropriate respiratory protection (depending on the cleaning agent used).
- Safety Precautions: Always wear safety glasses and gloves when handling cleaning agents and abrasives. Ensure adequate ventilation when using strong degreasers or solvents. Follow the manufacturer’s instructions on all products used.
- Cleaning Process: Begin by thoroughly cleaning the aluminum surfaces with a degreaser, following the manufacturer’s instructions. Rinse thoroughly with clean water and allow to dry completely. Lightly sand the surfaces with fine-grit sandpaper to create a slightly rough surface for better adhesion. Finally, use a tack cloth to remove any dust or debris.
Finish Application Methods and Comparison, Diy aluminium kitchen cabinet
Several finishing options exist for aluminum kitchen cabinets, each offering a unique combination of durability, appearance, and cost. The choice depends on your project’s specific needs and your desired aesthetic.
| Finish Type | Application Method | Durability | Cost |
|---|---|---|---|
| Powder Coating | Electrostatic spraying followed by curing in an oven | Very High; resistant to scratches, chipping, and corrosion | Medium to High |
| Anodizing | Electrochemical process that creates a protective oxide layer | Very High; exceptionally durable and corrosion-resistant | High |
| Painting | Brush, roller, or spray application of specialized aluminum paint | Medium; susceptible to chipping and scratching, depending on the paint quality | Low |
Common Issues and Solutions
Even with careful planning, certain challenges might arise during the DIY process. Addressing these promptly can prevent major setbacks.
- Uneven Finish: This often results from inadequate surface preparation or improper application of the finish. Re-sanding the surface and reapplying the finish in thin, even coats can resolve this.
- Finish Peeling or Chipping: This can occur due to poor adhesion caused by insufficient cleaning or the use of an inappropriate finish. Ensure proper surface preparation and select a finish suitable for aluminum.
- Corrosion: This is usually caused by moisture or exposure to corrosive substances. Proper sealing and regular cleaning can prevent corrosion.
- Scratches: Scratches are inevitable during the construction or use of cabinets. Minor scratches can often be buffed out with a polishing compound. More significant scratches might require repainting or refinishing of the affected area.
